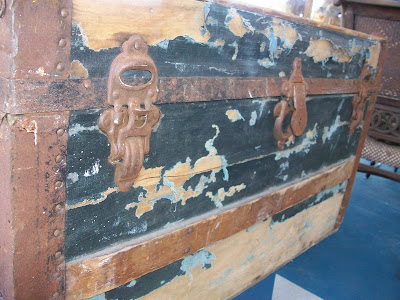
The time is finally here to unveil the 'AFTER' on the Old Steamer Trunk I posted a few weeks back!
BEFORE:
 I can't wait til we move (countdown 4 weeks 4 days!!!) and I will actually have somewhere to put it and take some decent shots!
 As you can probably tell I added some wooden curved legs, about 2" tall, just to get it up off of the floor and add a little extra detail.
  I lined the inside with a fabulous satin fabric, in shades of purples and navy. I really wanted it to be a POP of color when you opened it, and even though I put it there it's still a welcomed surprise every time I open it :)


I LOVE IT! You did an AMAZING job. How completely fabulous and unique. You will treasure this forever! I'm so impressed and JEALOUS! Love it...great, great work! Enjoy your day!
ReplyDeleteThat's incredible!! I have not one creative bone in my body so I envy people who can do stuff like this!
ReplyDeleteFound your trunk restoration through Design*Sponge-- any way we can get some DIY instructions?? I just got a trunk of my own that's in bad shape, but the outside isn't as bad as yours... even still, I don't know where to start! Any advice would be appreciated, yours looks so amazing!
ReplyDeleteNic Nac, I started to respond but decided that instead I would do a whole post on how I did it complete with photos I took during the process!! Will post later today and once you re-vamp your trunk I'd love to showcase it on my blog!!
ReplyDelete